Using the Opportunity [Summary] Page
You can click an opportunity's title on the All Opportunities page to view a more detailed description of it, on the Opportunity [Summary] page. From there, you can register to receive notifications about the opportunity, join a response team for the opportunity, and/or view the opportunity's supporting documentation. To find out more about response teams, jump to Managing Response Team Tasks.
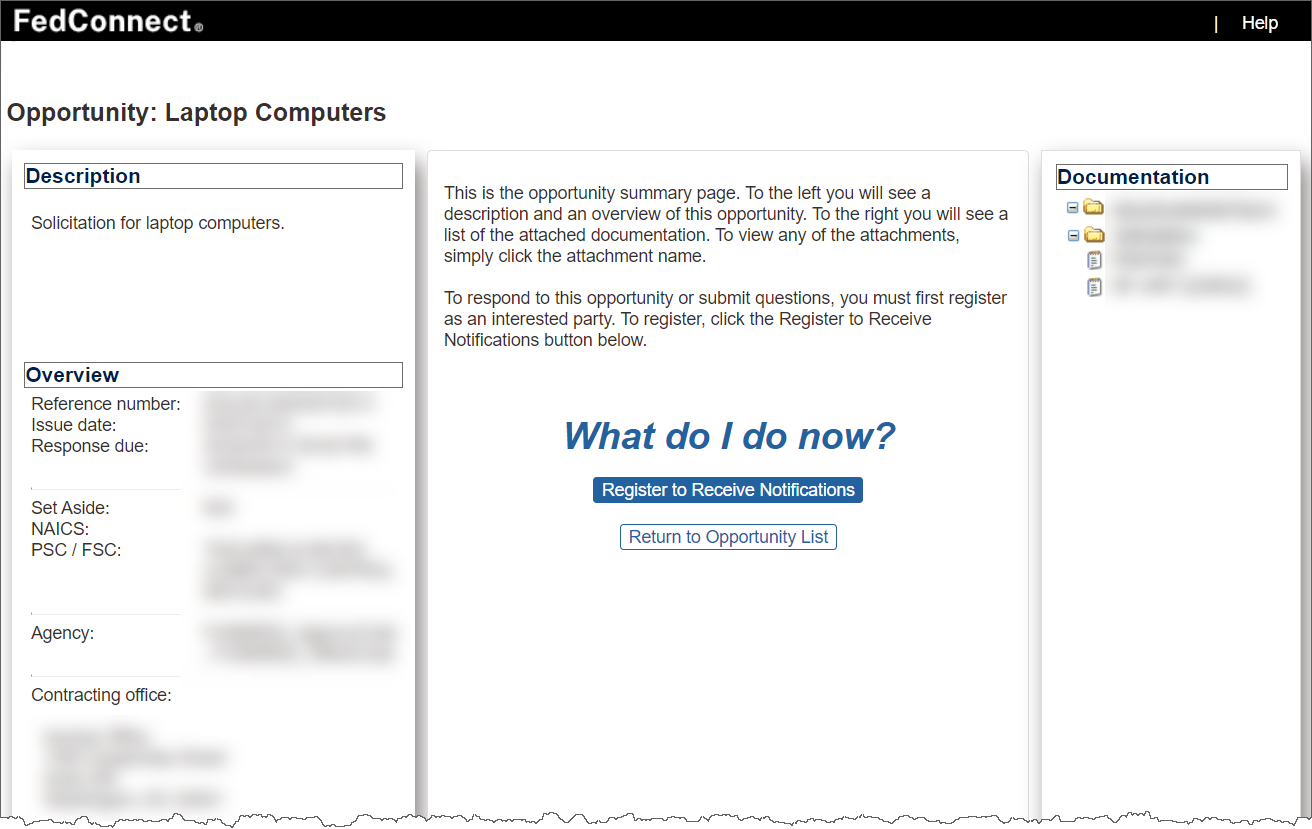
The Opportunity [Summary] page displays all of the information available to you about an opportunity. This information displays in seven distinct sections on the page:
- Description
- Overview
- What do I do now?
- Opportunity Message Center
- Documentation
- Responses
- Response Team

Note
The "What do I do now?" section displays only if you have not yet registered to receive notifications. To find out more about that, jump to Managing Your List of Agency Notifications.
The "Response Team" section displays only if you have registered to receive notifications for the opportunity.
Each of these sections is described in further detail below.

Navigation
Sign in to FedConnect | All Opportunities | click an opportunity's hyperlink in the Title column
The following picture illustrates how the Opportunity [Summary] page might look if you are viewing an opportunity. Your results might vary.
Understanding the Description Section
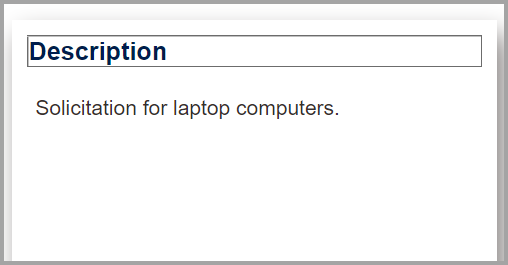
The Description section of the page displays a read-only description of the opportunity, as provided by the issuing agency.
The following picture illustrates how the Description section might look. Your results might vary.
Understanding the Overview Section
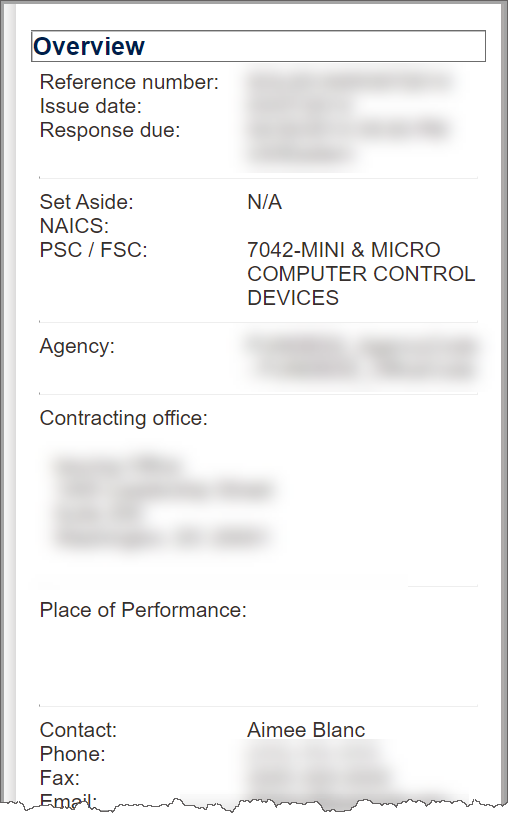
The Overview section of the page displays basic information about the opportunity, in read-only format, as provided by the issuing agency.
The following picture illustrates how the Overview section might look. Your results might vary.
| Field | Description |
|---|---|
|
Reference Number |
Displays the opportunity's reference number. |
|
Issue Date |
Displays the date on which the issuing agency issued the opportunity. |
|
Response Due |
Displays the date and time at which responses to the opportunity are due. |
|
Set Aside |
Displays the opportunity's set aside status, if applicable. |
| NAICS | Displays the North American Industry Classification System number associated with the opportunity. |
| PSC/FSC | Displays the product service code or federal supply code associated with the opportunity. |
| Agency | Displays the name of the agency that issued the opportunity. |
| Contracting Office | Displays the office that issued the opportunity, and includes the office's name and full address, including city, state, and ZIP code. |
| Place of Performance | Displays the location where the goods or services that are being solicited will be delivered or performed. |
| Contact | Displays the name of the opportunity's point of contact. |
| Phone | Displays the opportunity's contact phone number. |
| Fax | Displays the opportunity's contact fax number. |
| Displays the opportunity's contact email address. | |
| Vendors Conference | Displays the date and time of the opportunity's vendors conference. |
| Location | Displays the location of the opportunity's vendors conference. |
| Details | Displays the details of the opportunity's vendors conference. |
Understanding the "What do I do now?" Section
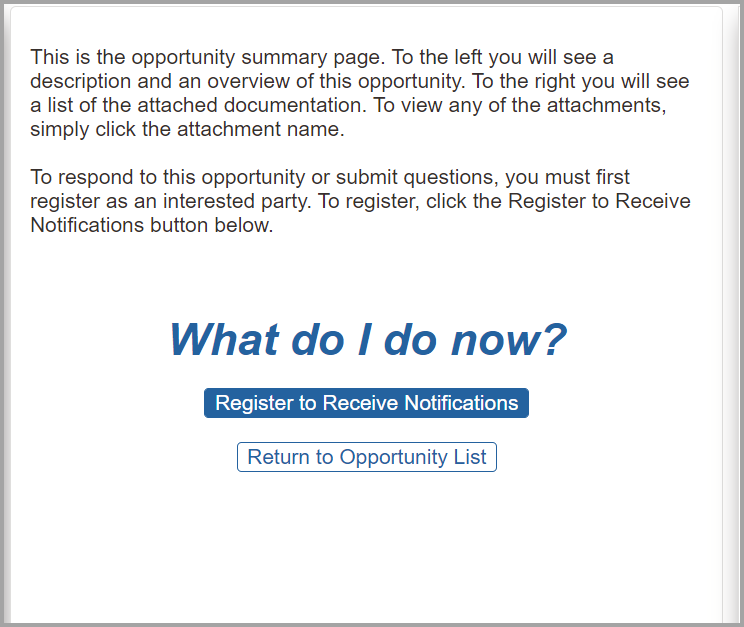
The 'What do I do now?' section of the page displays instructions regarding steps you can take once you have viewed an opportunity. Depending on an opportunity's status with your company, one or two buttons might display in this section.
The following picture illustrates how the What Do I Do Now section might look. Your results might vary.
| Button | Description |
|---|---|
| Register to Receive Notifications |
Click to become the first member of your company's response team for the opportunity, and to register to receive notifications regarding the opportunity.
Note The Register to Receive Notifications button only displays if no one else from your company has become a member of the response team yet. |
| Return to Opportunity List | Click to return to the Opportunities page. |
Understanding the Opportunity Message Center Section
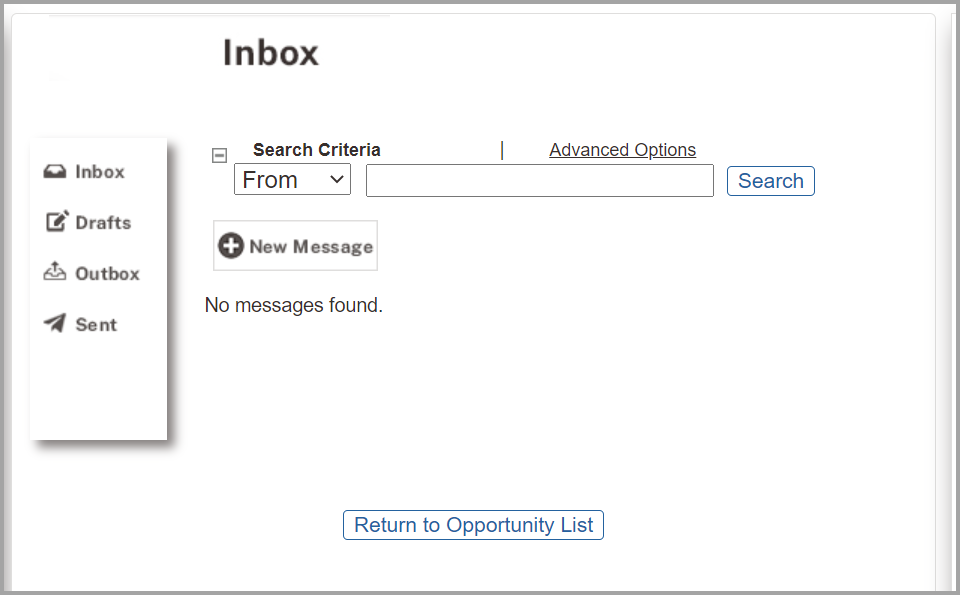
The opportunity message center displays if you are a member of your company's response team for the opportunity. For more information about the opportunity message center, jump to Using the Opportunity Message Center.
The following picture illustrates how the Inbox section might look. Your results might vary.
Understanding the Documentation Section
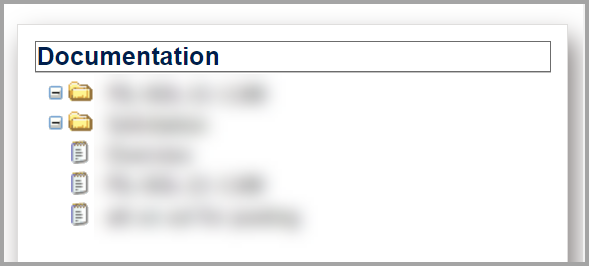
The Documentation section displays a list of labels for each of an opportunity's supporting documents, such as forms and/or attachments. The document labels are links that enable you to view and/or download an opportunity's supporting documentation. To view a document, click its label.
The following picture illustrates how the Documentation section might look. Your results might vary.

Note
You can view an opportunity's supporting documentation regardless of whether you are a member of your company's response team.
Acknowledging Receipt of Opportunity Documentation
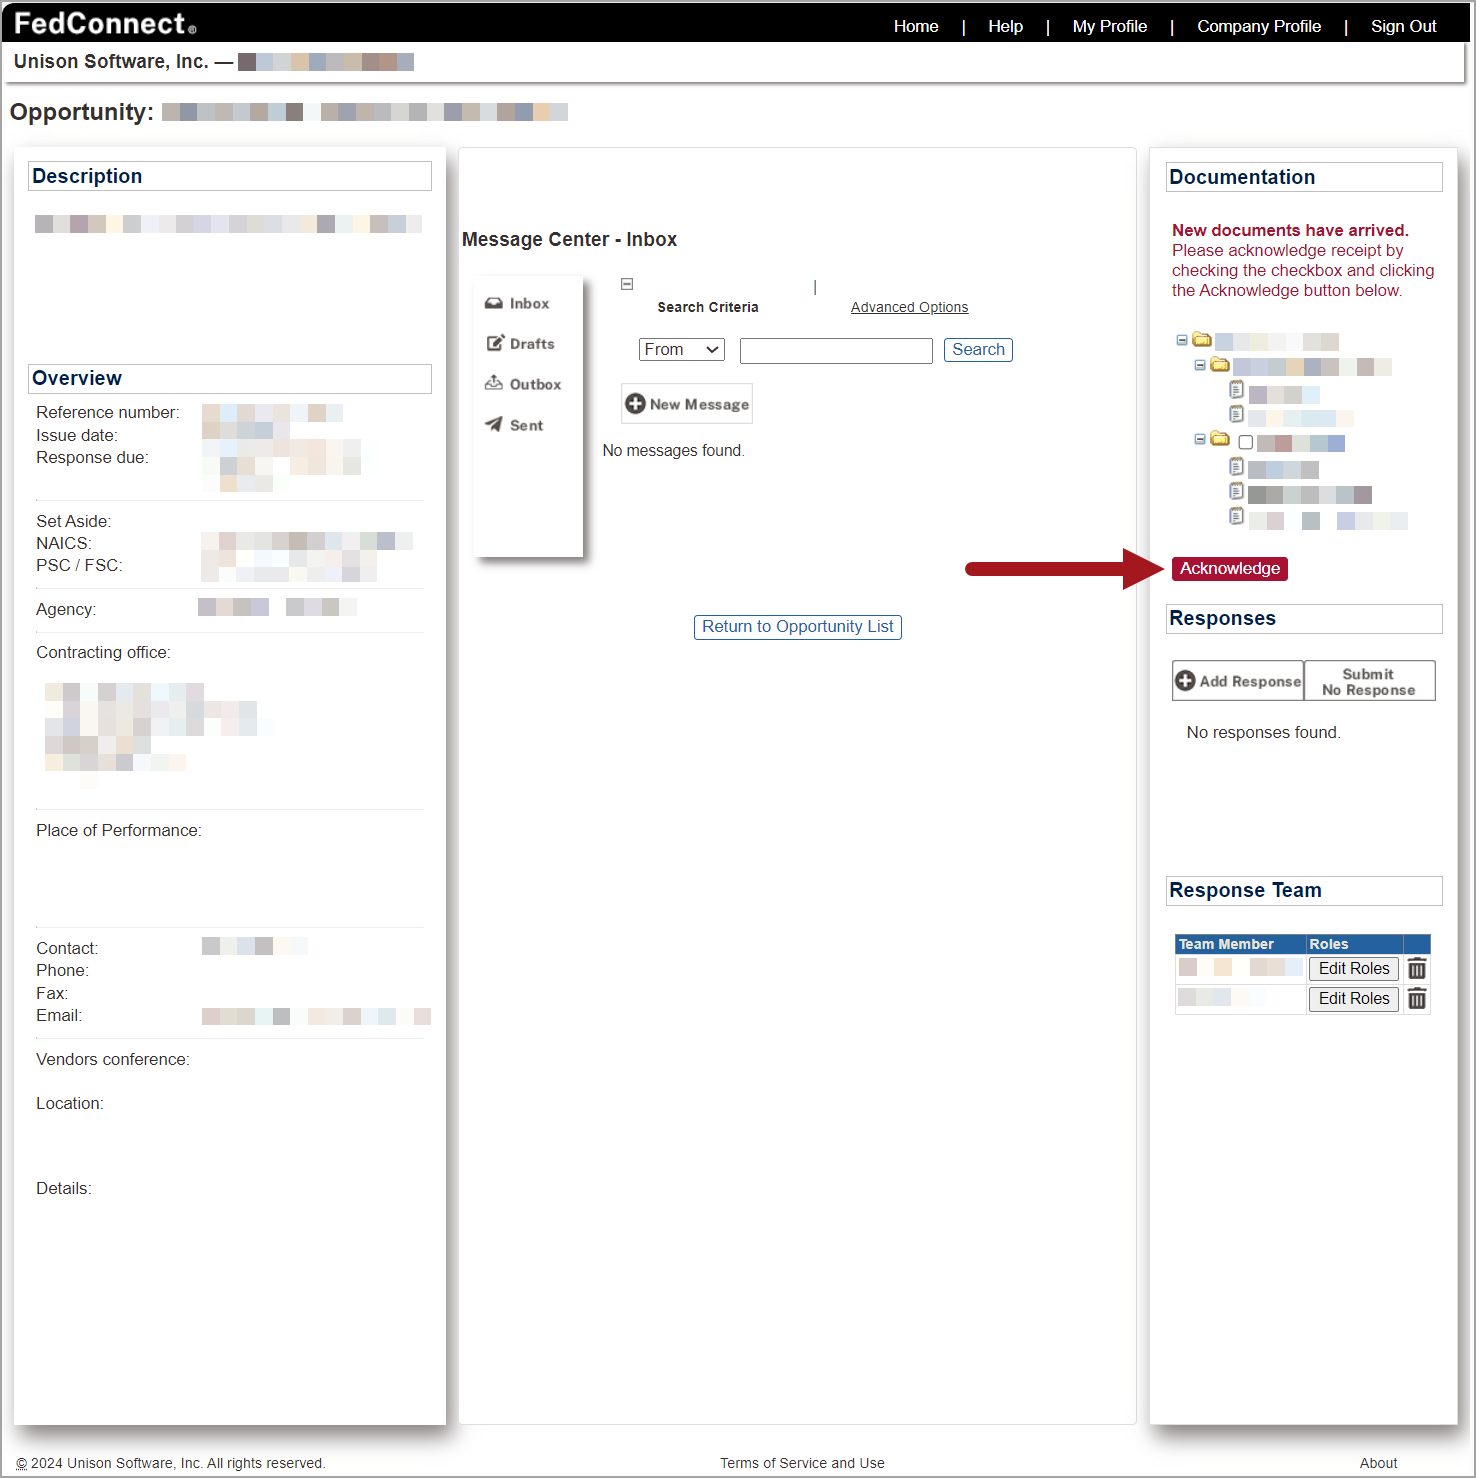
If you belong to a vendor response team, there might be times when you must acknowledge receipt of documents sent to FedConnect from the agency that posted an opportunity. When this occurs, there is a red Acknowledge button that displays on the Documentation panel. Click Acknowledge to send confirmation to the agency that you acknowledge receipt of the documents.
The following picture illustrates how the Acknowledge button might look on the Opportunity Summary page. Your results might vary.
Understanding the Responses Section
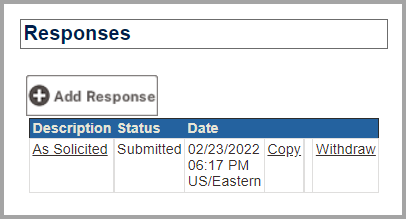
The Responses section of the page enables you to create responses to the opportunity (including no-bids), and displays your response team's current responses to the opportunity.
The following picture illustrates how the Responses section might look. Your results might vary.

Note
This section displays only if you and/or others at your company have joined the opportunity's response team.
| Column | Description |
|---|---|
| Description | Displays the response's description. This text displays as a hyperlink; click the hyperlink to open the response. |
| Status |
Displays the response's current status.
|
| Date |
Displays the date of the response's most recent status change. The information includes the time and the US/Eastern time zone to indicate that the date and time in the Date column apply to the US/Eastern time zone. |
| [History] | Click to see the history of the response. |
| [Copy] | Click to create an in-progress copy of the response. |
| [Delete] | Click X to delete the response. |
| [Withdraw] | Click to request that the response be withdrawn. |
| Button | Description |
|---|---|
|
Create |
Click to respond to the opportunity. |
|
Submit No Response |
Click to submit a no-bid in response to the opportunity. A no-bid informs an agency that you have reviewed its opportunity, but that you are not interested in submitting a response. |
Selecting a User Role
User roles are available for GSA-related opportunities and awards. For more information, jump to About User Roles in FedConnect.
Understanding the Response Team Section
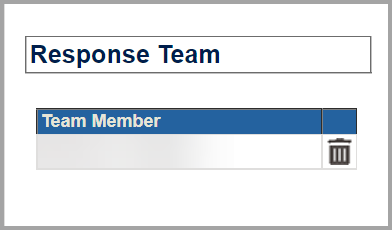
The Response Team section of the page displays the names of members of your company's response team for the opportunity, and enables you to join the response team if you have not already done so.
The following picture illustrates how the Response Team section might look. Your results might vary.

Note
This section only displays if you and/or others at your company have joined the opportunity's response team.
| Column | Description |
|---|---|
| Team Member | Displays the name of the opportunity's response team members from your company. |
|
Roles |
Team members can be assigned roles for the opportunity, provided your vendor administrator has configured those roles for each user in the list. A user might not have any roles assigned or might have multiple roles assigned. To see the roles assigned to a user, click Edit. If roles are assigned, they will display in a list in the Roles column. When a role or roles exist, check boxes display next to the role label. Select the check box to assign the role to the user and then click Save to commit that assigned role. Vendor administrators have access to edit the roles for all team members. Vendor representatives can edit only their own roles. To find out more about user roles, jump to About User Roles in FedConnect. |
| [Delete] | Click the Delete Team Member icon (it looks like a traditional little gray garbage can) to delete a team member from the response team. |
| Button | Description |
|---|---|
|
Join |
Click to join the opportunity's response team. |

